The Tractor Monoplane "Ad Astra" by W. J. Plater - Page 1
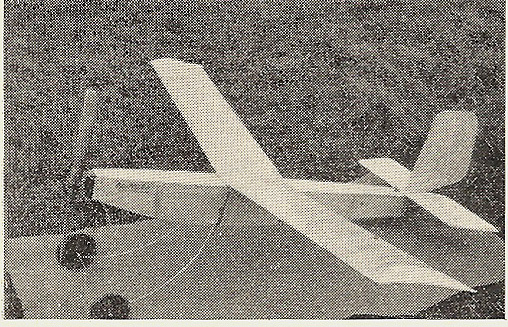
AD Astra 1933This machine was built to meet the growing demand among model aeroplane enthusiasts for a high performance flyer. It is the latest development of a series of three models having similar characteristics, and has been consistently flown in winds of from 25-30 m.p.h., and during flights under such conditions performs many interesting aerobatics. The duration of an average flight is from 35-45 sec., though with a similar wing of 48 in. span 60 secs. duration is possible. It will cover a distance of nearly ¼ mile, and has a ceiling of 80-90 feet. Its speed, officially checked over a measured course of 150 ft., was 25 m.p.h. Some fear that a fast model may land in a heap more often than not.This conclusion is wrong if the model has a high degree of inherent stability. The first of this type built three years ago has flown for 60,000 secs., and a similar machine has 90,000 seconds' flying time to its credit, and is still doing duty now as a seaplane. Needless to say, she has been overhauled several times. The sectional area of the fuselage conforming to the S.M.A.E. formula, can therefore be entered in any competition.
Construction. Details of construction are given under separate headings, so that one component may be completed at a time. This in general practice has been found best, though some prefer to make up all the metal parts first, then the soldering, or perform the steam bending operations, followed by the woodwork. If so,read through all the instructions first, and mark these particular operations off. It is best to build up the machine in skeleton first, then assemble to see that no mistakes have been made, before covering. It may be mentioned that, both when constructing and covering, it is advisable to have a kettle of hot water handy, to quickly obtain a jet of steam when steam bending, or to keep the hands free from glue, etc. Some like to introduce ingenious devices of their own. Do so, but do not alter the general layout, centre of gravity, or incidence on the main plane. Execute each operation accurately |
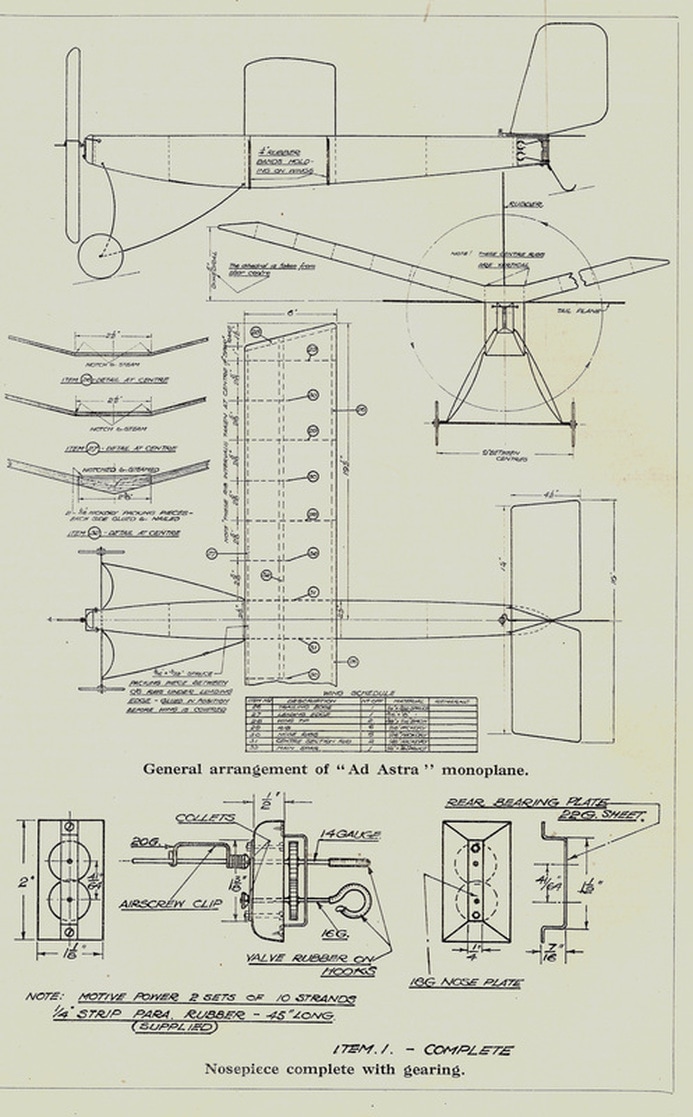
and frequently check the work. Schedules for parts required giving item number, description, number required and material, will save your searching through the following constructional notes.
Fuselage or Body. It is advisable to obtain a Hat board, roughly 48 in. by. 9 in. If that is not available, the top of a bench or table. On it set out the fuselage in side elevation, full size. Get a kettle of boiling water, and pour a little over the two strips selected for bottom longerons. Replace kettle and get a strong jet of steam issuing from the spout. Meanwhile gently curve each longeron edgewise, holding it between forefingers and thumbs, applying slight pressure. The hot water softens the glutinous substance in the wood, and the pressure breaks down its resistance. Insert each longeron in turn in the jet of steam, and continue bending between fingers and thumbs, until the curvature is I in. greater at each end than the curvature on your setting out board. This extra curvature is given, because, as the moisture evaporates, the longerons spring back to some extent, and finally assume the correct shape. It is best to drive a few 1 in. nails into the board and hold longerons between them until quite dry. The formers can now be marked out on the three-ply. Use for preference a 3H pencil and steel rule. First plane one edge of the three-ply straight and square, to be used as a working edge, to which apply the base of the square, and mark off formers Nos. 3, 4, 5 and 6, allowing 1/8 in. between the ends of each for saw cut. Note direction of grain in the outer plys indicated on the drawing. Set off the widths of formers, and either gauge them or draw lines parallel to working edge with rule and pencil. Finally, mark internal lines and radii. The latter can be done with the aid of a coin or button 3/4 in. dia. Formers Nos. 1 and 2 can be set out inside Nos. 3 and 4 and note that Nos. 1, 2 and 3 are bevelled on the bottom edge, which bevels can be indicated by two parallel lines when setting out.
|


